
How to Avoid Dog Door Installation Costs With DIY Solutions
You can save on dog door installation costs by going the DIY route. Measure your pet carefully, considering height, width, and leg lift, and choose an energy-efficient door that fits. Use crucial tools like a drill, jigsaw, and measuring tape to cut a clean opening, and make certain you seal the edges using caulk for better insulation. Safety is key, so wear gloves and goggles. Check that no structural supports are affected. Follow a detailed guide to guarantee a proper fit, and maintain the door by regularly cleaning and inspecting it. There's so much more to gain from taking this on yourself.
Key Takeaways
- Select a removable dog door model to avoid structural changes and professional installation fees.
- Use a pet door template and manufacturer sizing charts to prevent costly measurement errors.
- Assemble essential tools like a drill and jigsaw to perform the installation independently.
- Follow a step-by-step guide to ensure proper installation and avoid professional costs.
- Regularly maintain and inspect the dog door to prolong its lifespan and avoid replacement expenses.
Choosing the Right Dog Door
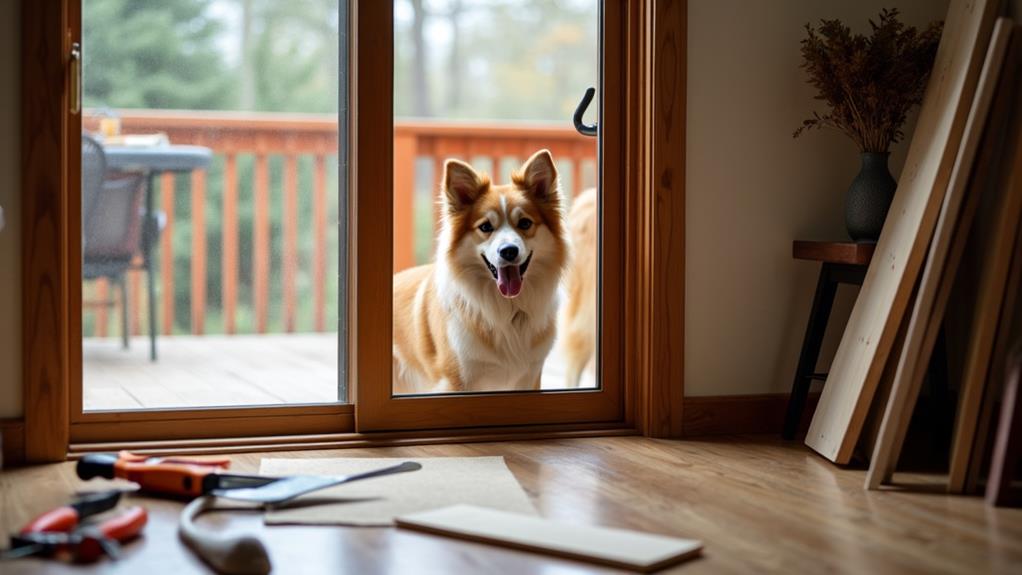
When choosing the right dog door, you'll want to guarantee it's the perfect fit for your furry friend. Start by measuring your pet's height and width, verifying the door opening is at least 2 inches larger than these dimensions. This step guarantees a comfortable fit for your pet. A pet door template can be a handy tool during the Dog Door Installation process, helping you visualize the ultimate placement and size.
Next, consider energy-efficient options. Doors with dual vinyl flaps are excellent for minimizing thermal transfer, keeping your indoor environment comfortable. If you're someone who prefers flexibility, especially if you're renting or planning future adjustments, look into removable models. These doors don't require structural changes, making them ideal for a DIY installation.
The installation process itself can be straightforward if you prepare properly. Use the template to mark where you'll cut, verifying it aligns with your pet's height for ideal usability. By doing so, you'll guarantee the door not only fits your pet but also integrates seamlessly into your home. Ultimately, consult manufacturer sizing charts to confirm that the door accommodates your dog's current and future size.
Measuring for Proper Fit
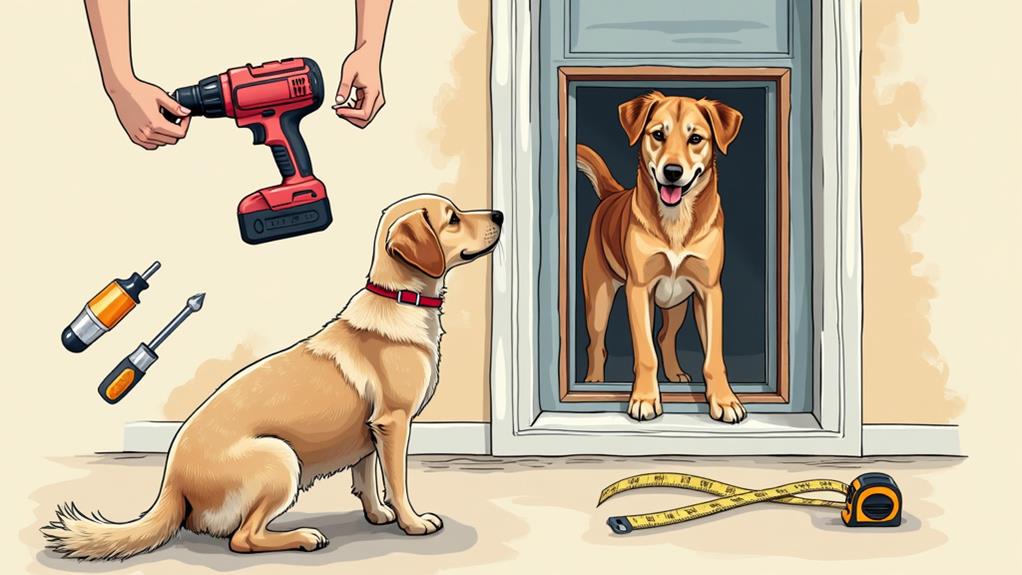
Verifying a proper fit for your dog door is vital for both convenience and comfort. When measuring for proper fit, start by determining the height of the dog. Measure from the floor to the top of your dog's shoulders and add 2 inches. This guarantees the door opening is tall enough for easy access. Next, measure from the floor to the top of your dog's elbow to account for their leg lift.
For width, check the widest part of your dog and add 2 inches. This assures the opening will accommodate their size comfortably. If you have multiple dogs, always measure the largest one to avoid accessibility issues. To verify accuracy in your door installation project, compare your measurements with the sizing charts provided by Dog Doors manufacturers. This step is vital before you cut the opening to install a dog door.
Here's a quick checklist to keep your process organized:
- Measure the height from floor to shoulder and add 2 inches.
- Measure from floor to elbow for leg lift room.
- Add 2 inches to the widest part of your dog for width.
- Use manufacturer sizing charts to confirm dimensions.
Following these steps will guarantee your dog door fits perfectly.
Essential Tools and Materials
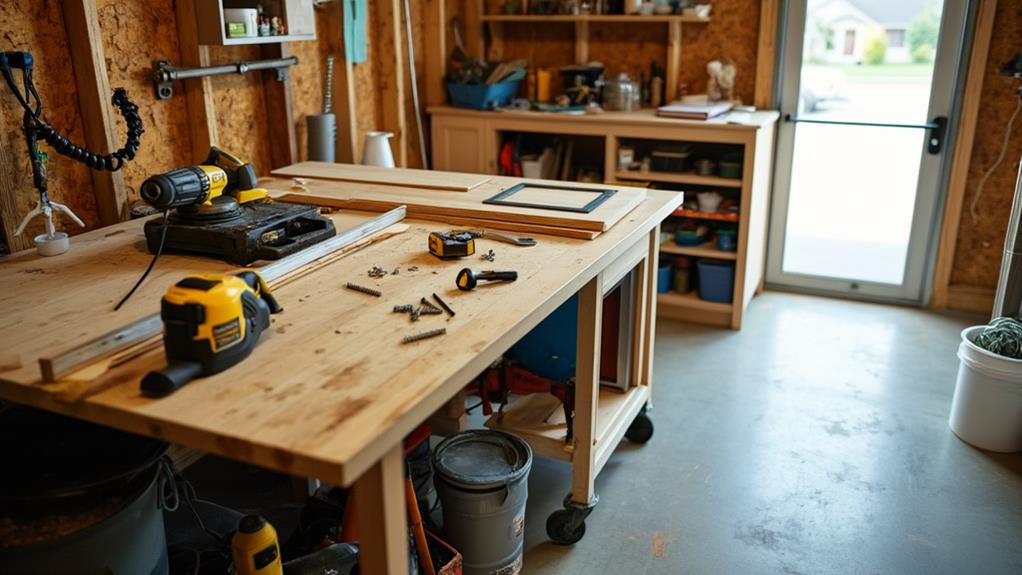
With your measurements in hand, you're ready to gather the necessary tools and materials for installing your dog door. Start by assembling vital tools like a drill, jigsaw, measuring tape, and screwdriver. These tools, often found in most home toolkits, will help you cut and secure the pet door accurately. Don't forget a level to guarantee your installation is perfectly aligned.
You'll also need the pet door kit, which usually includes the frame and flap. This kit is the main component of your project. To keep drafts at bay, grab some caulk or weather stripping. These materials are significant for sealing the edges and making sure your home remains energy-efficient.
A pencil is indispensable for marking the installation area, while a tape measure guarantees your measurements are spot-on. Depending on your door's structure, you might also need supplementary screws or anchors to firmly attach the pet door.
Lastly, prioritize your safety. While not part of the vital tools, wearing safety goggles and gloves during cutting and installation is a wise precaution. With all these materials and tools ready, you'll be well-prepared to tackle the installation with confidence.
Installation Safety Tips
Before you plunge into cutting the door, it's crucial to prioritize safety. The installation of a dog door involves more than just the cutting process; it requires careful planning to avoid mishaps. Start by evaluating the area for any hidden electrical lines, plumbing, or HVAC ducts. Damaging these systems can lead to costly repairs and dangerous situations.
Here are some key safety tips to keep in mind:
- Maintain a safe distance: Verify you keep at least 8 inches from structural supports to preserve your home's integrity during the installation.
- Wear protective gear: Always use gloves and goggles when cutting and handling materials to protect yourself from injuries.
- Cut from the outside: This technique helps create a cleaner workspace by minimizing indoor dust and debris.
- Check local building codes: Reviewing these guarantees compliance and prevents legal issues with your DIY solutions.
Step-by-Step Installation Guide
Installing a dog door can seem intimidating at the outset, but by following a systematic approach, you'll simplify the process considerably. Start your pet door installation by accurately measuring your pet's height and width, adding at least 2 inches to the height for comfort. Measure from the floor to determine the ideal placement on the door. Once you've got the right dimensions, mark the installation area using the template provided in your Doggie Door kit. Be careful here—double-check those measurements before cutting.
Next, drill holes at each corner of the marked outline using a 1/2-inch drill bit. These holes will serve as a starting point for cutting. With a jigsaw, carefully cut along the marked lines, beginning from one corner. Confirm your cuts are clean and straight to make inserting the frame easier.
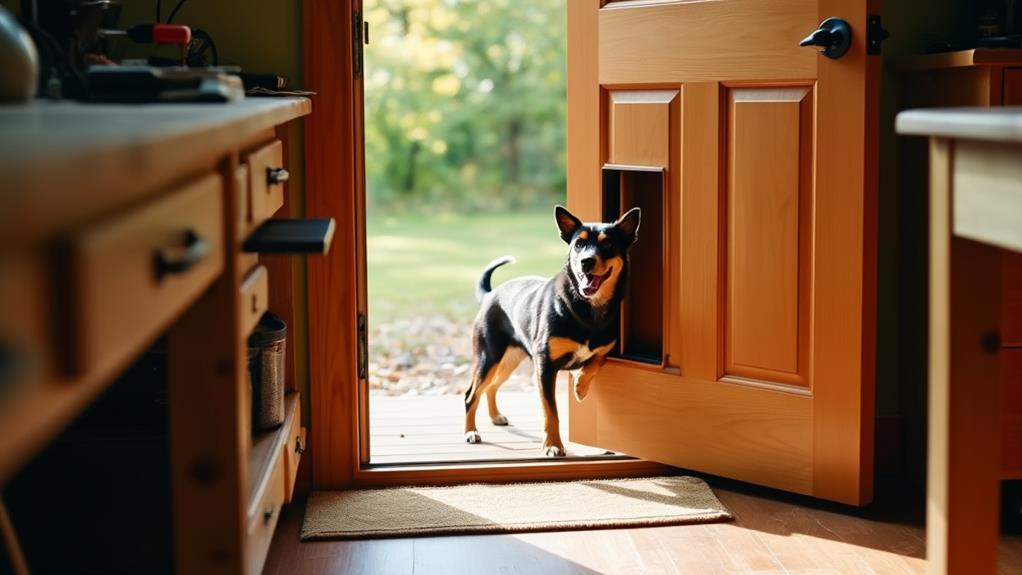
Once the opening is ready, insert the pet door frame. Align the screw holes with the frame and secure it firmly with screws. At last, seal the edges with caulk to prevent air leaks and guarantee a snug fit. By following these DIY solutions, you can successfully install a dog door without incurring high costs.
Ensuring Energy Efficiency
For many homeowners, ensuring energy efficiency when installing a dog door is crucial. You want to keep your home comfortable without driving up energy costs. By choosing an insulated pet door, you can greatly reduce energy loss, keeping your home cozy and your bills lower. Look for models with dual vinyl flaps, as they provide superior thermal insulation over single flap designs.
To further improve energy efficiency, consider these tips:
- Seal the edges: Properly sealing during installation can prevent air leaks, ensuring your dog door doesn't compromise your home's energy performance.
- Add weather stripping: This cost-effective method reduces drafts and improves insulation, making it perfect for energy-conscious homeowners.
- Select energy-rated pet doors: These ratings help you gauge efficiency. Higher ratings indicate better insulation and reduced heat transfer.
- Follow precise installation tips: Proper installation is key. Missteps can lead to air leaks, negating the benefits of energy-efficient features.
Maintaining Your Dog Door
To keep your dog door in prime condition, regular maintenance is crucial. Start by routinely cleaning the dog door flaps to prevent dirt and debris from accumulating, which can impact functionality and hygiene. Inspect the seals and insulation at least once a month to maintain energy efficiency and prevent drafts from entering your home. If you notice any wear and tear, address it immediately.
Lubricate the hinges and mechanisms periodically. This simple DIY solution can guarantee smooth operation, preventing the door from sticking or jamming. Keeping these parts well-oiled helps in maintaining peak performance and extends the lifespan of your dog door.
Monitor the door for any obstructions or misalignments that might develop over time. These issues can hinder easy access for your pet, so addressing them promptly is vital. If you spot any damage, replace worn-out flaps or components as soon as possible. This proactive approach not only maintains security but also improves the door's overall efficiency.